


How to make:
1. Shape the wood - Use a small knife or craft knife to carve the Pachinko to your preferred length, thickness, and shape. You can mark the outline with a pencil before cutting. Please handle all sharp tools carefully to avoid injury.
2. Smooth the surface (Step 1) - Once the rough shape is complete, sand the surface with No.150 sandpaper to remove any unevenness.
3. Refine the finish (Step 2) - Continue sanding with No.240, then No.400 sandpaper until the surface is completely smooth.
4. Apply beeswax - Using one of the cloths, lightly coat the Pachinko with the included beeswax to moisten and protect the surface.
5. Final polish - Wipe off any excess wax with the second cloth, then leave to dry for about one day. Your handmade Pachinko are now complete!
6. You can also create a matching Pachinko following the same steps.
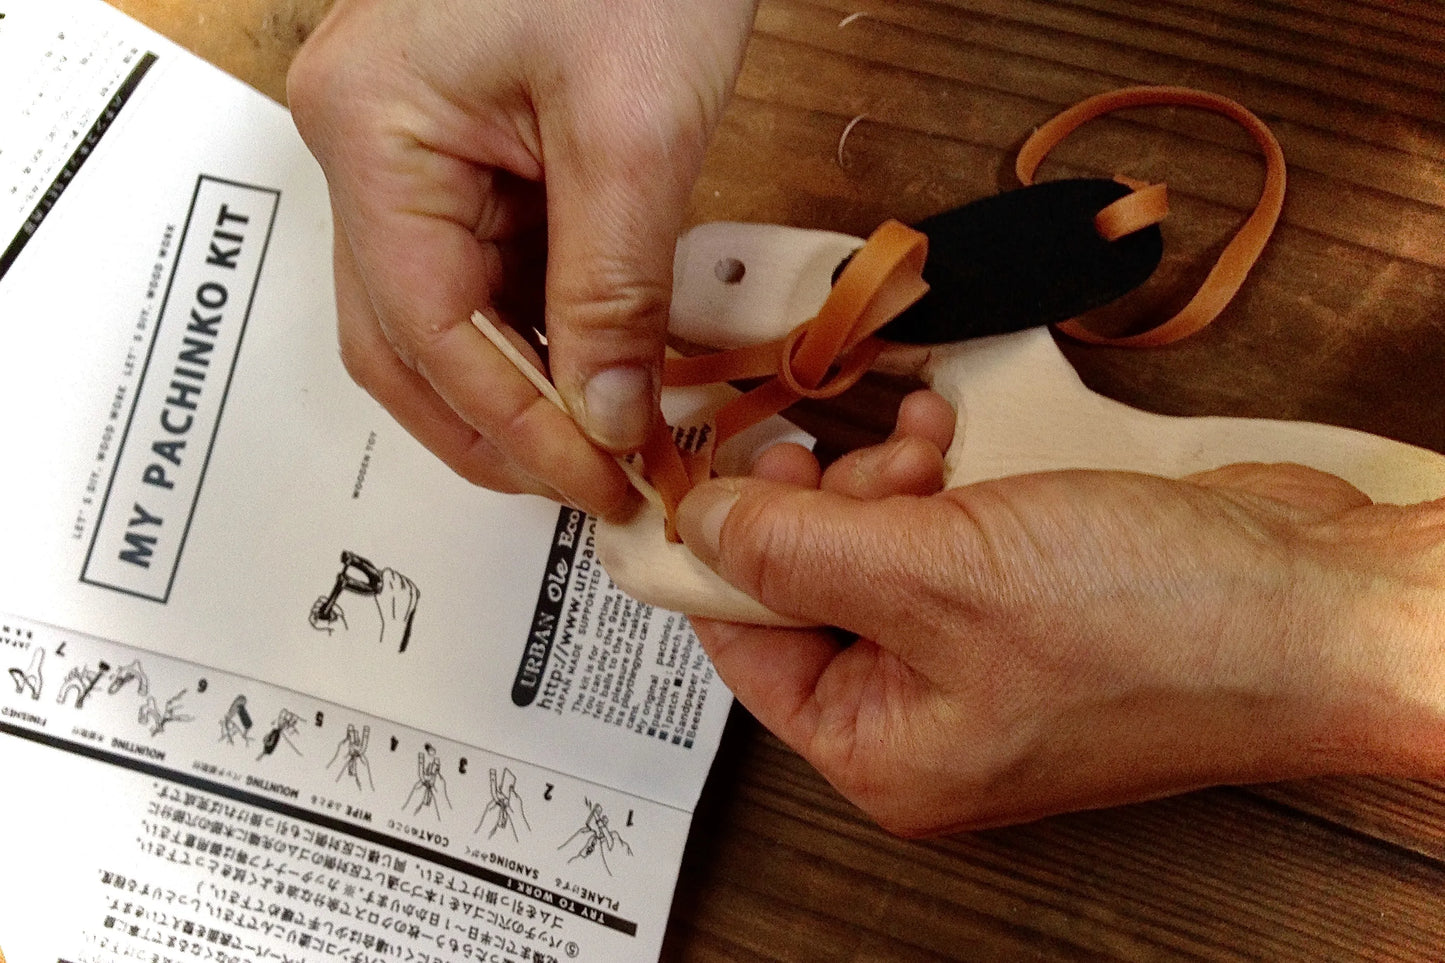
How to Play:
Place a mini ball on the rubber patch.
Hold the handle firmly with one hand and pinch the patch with your thumb and finger.
Pull the patch back slowly while aiming at your target.
Release to launch the ball and enjoy the satisfying snap!
Challenge yourself by adjusting the target’s distance or size.
Care & Safety Instructions
1. Take care when carving to avoid injury
2. Wear protective gloves where possible
3. Keep hands clear of the blade's cutting path
4. If the surface becomes worn, lightly sand and refinish with natural oil (e.g. vegetable oil)
5. Regular maintenance will help your spoon last for years to come
6. Use only safe targets such as paper, empty cans, or plastic bottles.
7. Do not aim at people or breakable objects.