Japanese Wooden Serving Plate Carving DIY Kit - Rectangle
18+Japanese Wooden Serving Plate Carving DIY Kit - Rectangle

More DIY Kit Set:


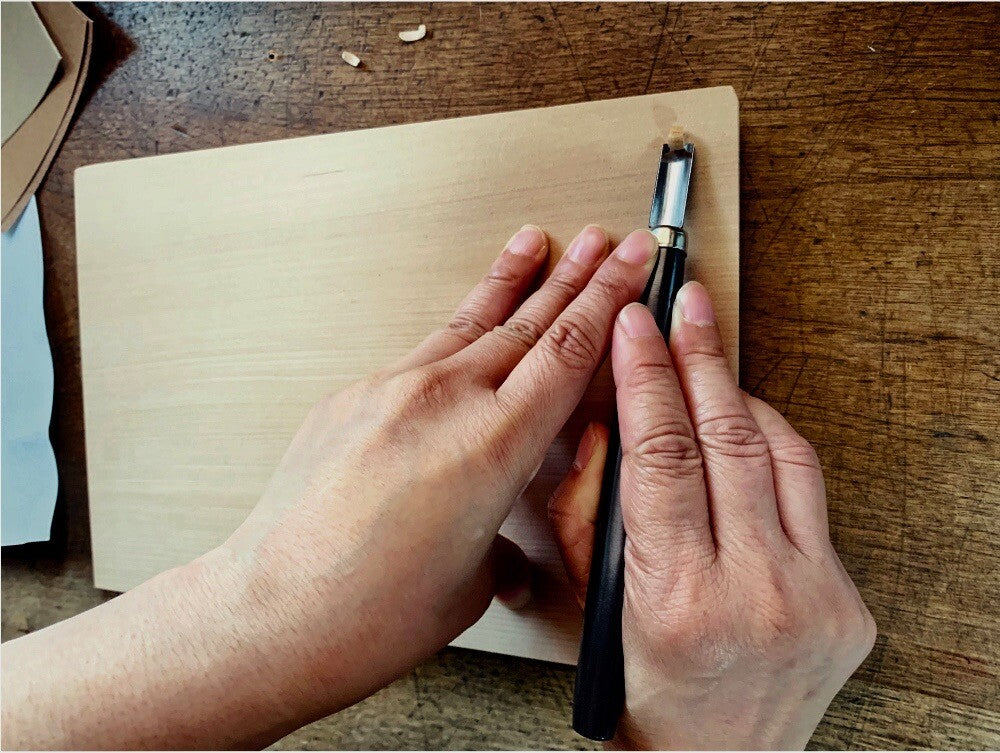
Create your own handcrafted wooden serving plate with this engaging DIY carving kit from Japan.
Designed for beginners and craft enthusiasts alike, this kit includes everything needed to carve, sand, and finish a unique rectangular wooden plate. Using the included carving tool, you can create your own patterns, textures, and surface details, transforming a simple wooden board into a one-of-a-kind piece for your home.
Crafted from Katsura wood, the plate offers a smooth carving experience and develops its own character through your creativity. Once shaped and sanded, apply the included beeswax finish to enhance the natural beauty of the wood and provide protection for everyday use.
Perfect for serving bread, cakes, pastries, snacks, or appetisers, the finished plate adds a personal touch to any table. Dining with something you’ve made yourself brings an extra sense of enjoyment and accomplishment.
Whether for a relaxing weekend project, a thoughtful handmade gift, or a creative introduction to woodworking, this kit offers a rewarding crafting experience and a finished piece you’ll enjoy using for years to come.
Includes:
- 1 x Rectangular Wooden Plate (Katsura Wood, Approx. 28 x 19 x 1.5cm)
- 1 x Carving Gouge (Round Knife)
- Sandpaper (No. 150, 240, 400)
- 1 x Beeswax Finish
- 2 x Cloths (for applying and polishing wax)
Features:
- Create your own unique carved wooden plate
- Suitable for beginners and experienced makers
- Includes all essential carving and finishing materials
- Ideal for serving bread, cakes, pastries, and snacks
Please read the included How to Make guide, General Information, and Care Instructions before you begin.
Recommended for users aged 18 and over.
Those under 18 should use under adult supervision.
Made in Japan
Couldn't load pickup availability
 FREE SHIPPING OVER £75
 NEXT DAY DELIVERY AVAILABLE
 MADE TO LAST
Care Instructions
General Information
Couldn't load pickup availability


Explore more from Homeware
-
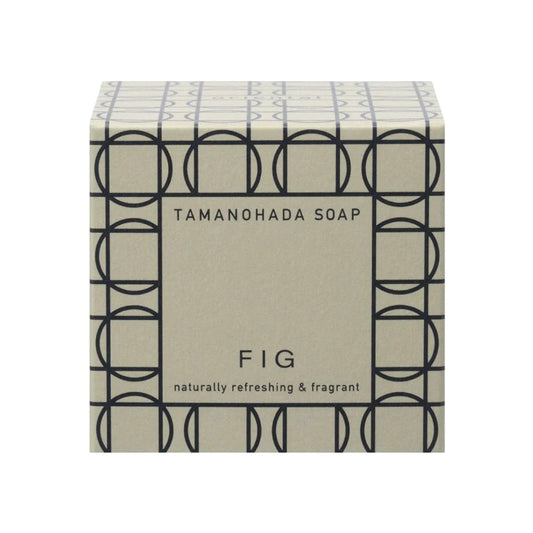
Scented Round Ball Soap Fig
Regular price £11.00Regular priceUnit price per -

Plus Rubber - Mt. Fuji
Regular price £4.50Regular priceUnit price per -

Nisaku Hori Hori with Synthetic Leather Sheath
Regular price £32.00Regular priceUnit price per -

Humade Kintsugi Kit - Silver
Regular price From £28.50Regular priceUnit price per



As seen on